Pests living in your ceiling can create noise, damage property, and pose health risks. Whether it’s rodents, insects, or birds, ignoring the problem can lead to bigger infestations and costly repairs. These unwanted visitors can also contaminate insulation, chew wiring, and leave droppings that trigger allergies or odors. Over time, infestations can affect your home’s structural integrity and comfort if left unchecked. This guide will walk you through identifying the pests, removing them safely, preventing future infestations, and knowing when to call professionals like Wild Removal for effective, long-term solutions.
How to Get Rid of Pests in the Ceiling
Pests hiding inside ceilings can create serious problems—from noise and foul smells to damage and health risks. Ceilings provide warmth, shelter, and darkness, making them an ideal space for rodents, insects, and even birds. Removing pests quickly and safely protects your home and prevents long-term infestations. This guide will walk you through how to identify pests, remove them properly, and keep your home pest-free. Taking early action ensures the problem doesn’t grow worse or spread to other areas.
Why Pests Nest in Ceilings
Pests choose ceilings because they offer protection from predators, easy hiding spaces, and access to food through nearby rooms or wall cavities. Ceilings also provide warmth and insulation, especially during colder months. Small cracks, vents, damaged roofing, and utility gaps create pathways that make ceilings easy for pests to enter and live in without being noticed. Once inside, they can nest, multiply quickly, and cause noise, odors, and structural damage over time.
Common Pests Found in Ceilings
- Rats and mice
- Termites
- Cockroaches
- Ants
- Birds
- Squirrels
- Wasps and hornets
These pests often stay hidden, making early identification important to avoid damage and costly repairs.
Signs You Have Pests in the Ceiling
- Scratching, chewing, or tapping noises
- Droppings or foul odors
- Dust or insulation falling from vents
- Chewed wires, wood, or insulation
- Visible pests near attics or roof openings
- Nesting materials such as paper, leaves, or fabric
If you notice one or more signs, it’s likely the infestation has already begun.
How to Get Rid of Pests in the Ceiling
1. Identify the Pest
Knowing whether the problem involves insects, rodents, or birds helps you choose the right removal method. Listen to noise patterns and look for droppings, nests, or damage. Identifying the pest accurately ensures you avoid using the wrong treatment method, which could make the infestation worse. If unsure, take photos or collect samples to show a pest control expert for proper identification. A correct identification saves time, reduces unnecessary damage, and increases the success rate of removal.
2. Locate Entry Points
Check vents, roofing gaps, attic doors, chimneys, and cracked siding. Identifying the entry route prevents pests from returning during or after removal. Look for damaged insulation, gnaw marks, air gaps, or small cracks that pests could squeeze through. Use a flashlight to inspect dark corners or hidden spaces. The more precise you are, the easier removal and prevention will be. Regular inspections throughout the year help you detect vulnerabilities before pests take advantage of them.
You may also like: Guide to prepping for Summertime Pests
3. Seal Access Areas Temporarily
Block access with temporary barriers while planning removal. This helps control movement and prevents more pests from entering the ceiling. Materials like tape, plastic panels, or steel wool can be used as temporary seals. This step prevents pests from escaping deeper into walls or spreading to other rooms while treatment is underway. Temporary sealing limits activity but shouldn’t replace a long-term solution once removal is complete.
4. Use Traps or Bait Safely
Choose bait, glue boards, or humane traps depending on the pest type. Place them carefully and keep them away from children and pets. Replace or reset traps regularly to check progress. For rodents, avoid overcrowding traps, as spacing improves effectiveness. Always label trap areas so no one accidentally touches or disrupts them. Check traps daily to ensure pests are removed quickly and to avoid foul odors or contamination.
Also Read: Landlord Pest Control: All You Need to Know
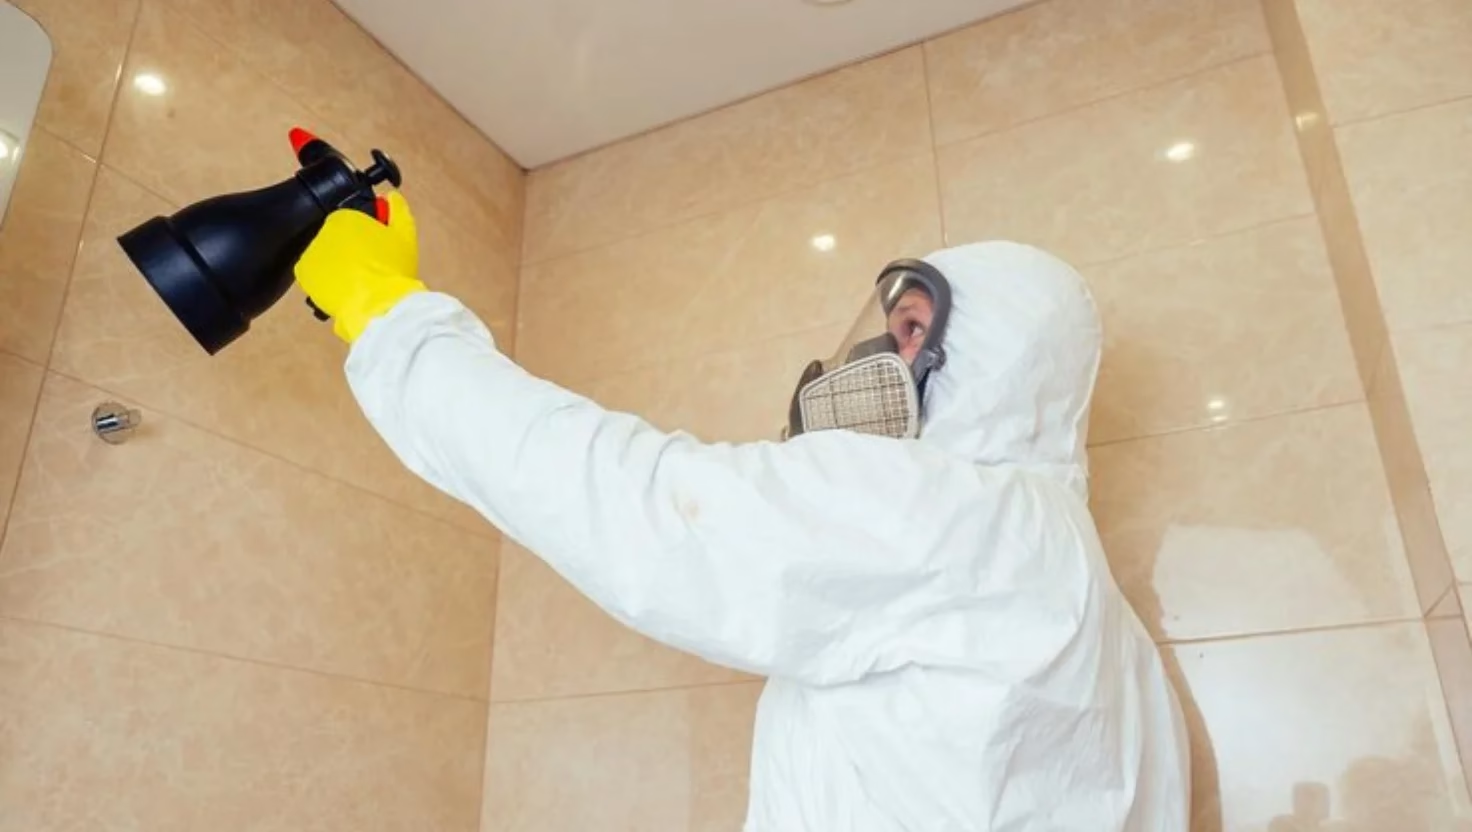
5. Apply Targeted Pest Control Treatment
Use appropriate sprays, gels, or powders. Avoid overusing chemicals and always follow labeled instructions for safety and effectiveness. Targeted treatment ensures chemicals reach problem areas without spreading unnecessarily. Wearing gloves and masks during application can reduce exposure. If using natural treatments, ensure they’re safe and strong enough for the infestation level. If you notice strong odors or discomfort after application, leave the area and ventilate thoroughly before returning.
6. Remove Nests or Droppings Carefully
Once pests are gone, remove nesting materials using gloves and a mask. This helps prevent bacteria, allergens, and odors from spreading. Place debris in sealed bags before disposal. Avoid sweeping dry droppings, as this can spread harmful particles into the air. Instead, lightly mist surfaces before cleaning to trap dust. Proper cleanup reduces disease risks and ensures your ceiling remains fresh and hygienic.
Helpful For You: Why Pest Control is Important for Plaza Businesses
7. Repair Damaged Insulation and Wiring
Rodents and insects can damage insulation and electrical wires, increasing fire risks. Replace or repair everything damaged as needed. Check for moisture issues or mold, as pests often live in damp insulation. If wiring is heavily damaged, contact a licensed electrician to avoid safety hazards or future electrical failures. Upgrading insulation and sealing weak points can also help improve home energy efficiency.
8. Deep Clean the Area
Clean and disinfect surrounding spaces to remove germs and odors. This step helps discourage pests from returning. Use safe cleaning solutions and avoid harsh chemicals that may react with pest control products. Pay extra attention to hidden areas, vents, and corners. A fresh, clean environment makes the ceiling less attractive to pests. Deep cleaning also helps you spot any signs of lingering activity early.
Must Read: When is a Pest Problem an Infestation
9. Install Permanent Barriers
Use steel mesh, caulk, screens, or metal flashing to block any openings permanently. This adds long-term protection. Consider replacing old attic vents with pest-proof covers and reinforcing weak roof areas. Inspect seasonally to ensure no new gaps form over time, especially after storms or temperature changes. This step helps ensure your ceiling stays pest-free year-round and reduces the need for future treatments.
10. Monitor for Recurring Activity
Keep traps or monitoring tools in place for a few weeks to ensure pests have not returned or found new entry points. Record activity and track patterns if you notice small signs. Early detection helps you respond before a new infestation grows. If activity continues, it may be time for a professional inspection. Monitoring helps confirm whether the treatment worked fully or if follow-up action is needed.
Must Read: How to Avoid these Five Common Spring pests
Safety Tips for Families and Pets
- Keep pets and children away from treatment areas
- Use pet-safe or non-toxic products when possible
- Wash hands after handling traps or chemicals
- Store pest control products securely
- Ensure proper ventilation after treatment
Prevention Tips to Keep Pests Out of the Ceiling
- Seal cracks around windows, vents, and roofing
- Trim trees and branches away from the roof
- Store food in airtight containers
- Fix moisture leaks and plumbing issues
- Clean crumbs, spills, and clutter regularly
- Schedule seasonal pest inspections
Preventive care is the most effective way to stop pests from returning.
When to Call Professionals
Call Wild Removal Services if pests continue to return, cause structural damage, or pose health and safety risks. They specialize in safe indoor and outdoor removal solutions while keeping your family and pets protected. Their trained experts also assess entry points, recommend preventive measures, and ensure long-term protection, saving you time, stress, and potential property repairs.
Conclusion
Removing pests from the ceiling requires patience, the right tools, and consistent prevention. By identifying pests early, taking proper removal steps, and sealing entry points, you can protect your home from damage and future infestations. With the right approach and professional help when needed, you can maintain a safe, comfortable, and pest-free living environment.
FAQs
How do I know if pests are gone?
If the noises stop, droppings disappear, and traps remain empty for several weeks, the infestation is likely resolved.
Are ceiling pests dangerous?
Some may carry disease, cause allergies, or damage electrical wiring or insulation, creating fire risks.
How long does removal take?
It depends on the pest type and severity—ranging from several days to a few weeks.
Can pests come back after removal?
Yes. Without sealing entry points and preventive steps, pests may return.
Are treatments safe around pets and children?
Yes—when done correctly. Always ventilate well and keep kids and pets away until treated areas are fully safe.